Recently, a friend asked if I could help out with small project that required uploading and serving images. He chose Wasabi to store these. If you’re not familiar with Wasabi, it’s a cloud storage provider that uses the same API as Amazon S3. As someone who is not too familiar setting up this sort of storage service, I decided it’d be a good learning experience. In the end I was able to tick the learning experience part of that off my list.
I got the account up and running and expected something like:
I did get step (1) and managed to easily create a bucket through the Wasabi web ui:
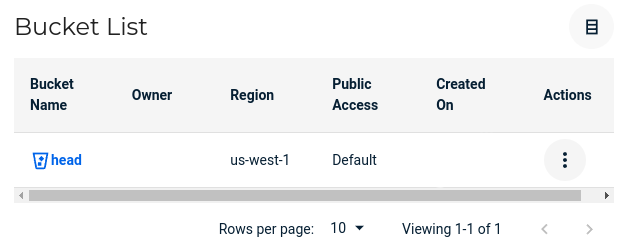
The bucket’s public access was set to default, which was vague, so I clicked on Actions which led me to settings:
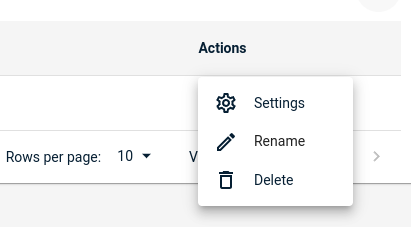
That brought me to the properties panel, which seemed helpful:
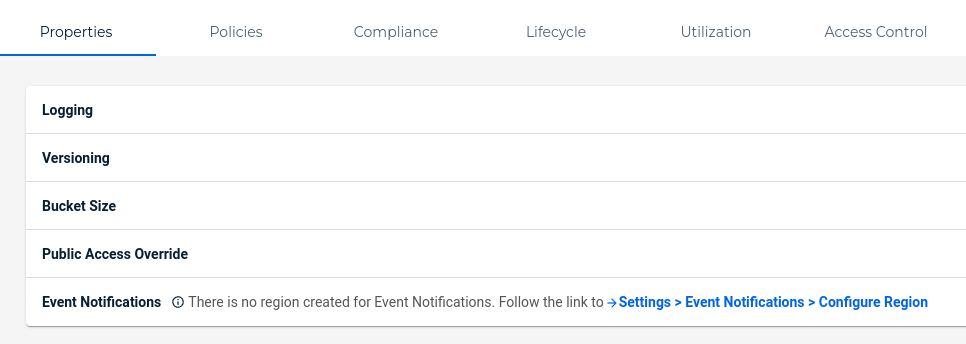
Thinking Access Control made the most sense, and should help me complete step (2), I clicked and got this page, which at first glance, seemed exactly what I wanted:
At second glance, why under Owner was write set to red. Did that mean I, as the owner, couldn’t upload files? Why under All Users was the the write gray and on the left side? I clicked on the Set button to get more information:
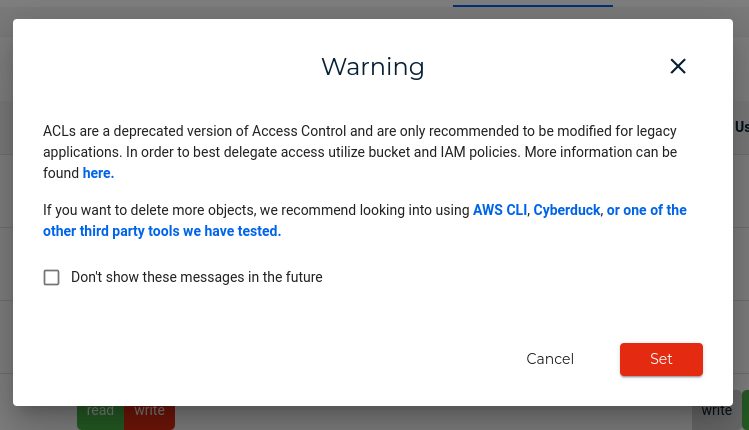
I followed the link and learned a bit about setting policies. But why is this whole page even here if it’s depreceated and why does the dialog have a set button? Pressing it gave me:

I’m glad I could successfully set depreceated features.
Now I knew I had to set policies, but wanted to do some initial testing from my client, just to see if I could get things into the bucket. To do that I wanted to temporarily open things up for public upload, and I had seen something back on settings page called Public Access Override:

It was a dropdown with a toggle:
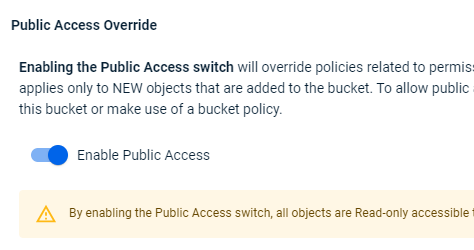
I test my client and it doesn’t work. I head back to Wasabi and go back to the Public Access Override section and find the toggle has been deselected. I search around and find this blog post and this part:
For newly created accounts, any buckets created after this date cannot be enabled for public access by the user via the console or CLI.
Why, on my newly created account, does this menu even exist? Why is there not, at bare minimum, a link describing this? And further, why is there Wasabi documentation which is dated 6 months after which contradicts the above blog post?
I follow the link on the blog post to learn about presigned urls. I rework my client code and I’m able to used those presigned URLs to upload a file.
Thinking back to the Access Control the read access was green for All Users, so surely I can now read this file I just uploaded, right?
Unfortunately, no.
I go back and read up on creating policies with Wasabi’s well-formatted documentation:
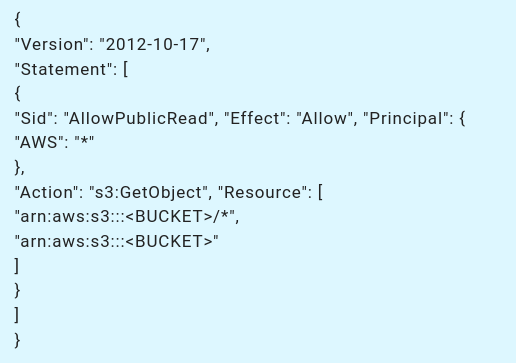
So, after having ChatGPT create a policy allowing public read access I reran my client and I’m able to get public read access to the files I already uploaded. But, at the same time, the presigned urls I’d already had success with were no longer working. I create another policy allowing uploads via presigned urls and public read access and got it working.
The end results was not that difficult to achieve, but a simple one page description that says:
Instead I encountered:
It really shouldn’t be this difficult, but then again, I’m not a professional software dev, so maybe all this stuff is instantly intuitive to those who are? Or maybe it’s just for people who already have their policies set up on AWS and want a cheaper option, so they ignore everything I went through and instead copy-paste their policies in? I’m not sure, but for a new user, it was time wasted that could have been solved by simpler and better design.