Disclaimer:
This is partially based on the requirements of Coursera’s AWS Solution Architect’s course and the exam itself. You can think of these more as notes for myself as I’ve gone through the course in preparation for the exam. Also, these are written as done from the CLI, and using CloudFormation, which I prefer to the web console.
You can find the YAML file for CloudFormation in this repo, along with other files related to any posts on this site starting with [CSA].
Before we do anything we’ll want to create an IAM user that has command line access, but which is not our root user. The reasons for this are:
To create the user you’ll need to login to the AWS console and do the following:
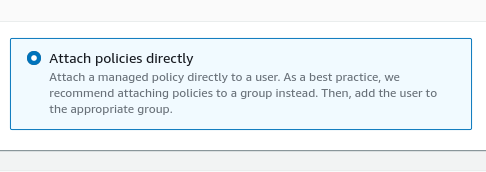
Search for and then tick the box for AdministratorAccess before clicking next. Finally, click Create User.
Once the user is created you’ll need to give them CLI access. This can be done by going to the Users page again in order to find your newly created user and then selecting it. You’ll want to click Create access key and then option for CLI:
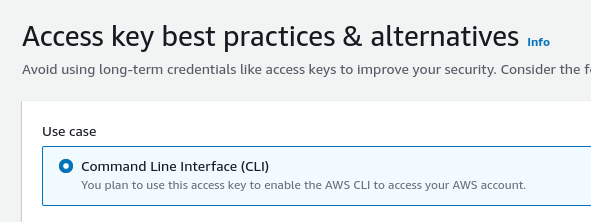
Before you move on from this page you’ll want to either download the CSV file with the credentials or use them to set up access via the terminal.
Before you can use AWS as the command line you need to install it. As for July 2024 this can be done via:
curl "https://awscli.amazonaws.com/awscli-exe-linux-x86_64.zip" -o "awscliv2.zip"
unzip awscliv2.zip
sudo ./aws/install
You may need to restart your terminal or bash, depending on what you’re running, but after it has installed you should be able to do the following:
aws –versionNext we’ll want to configure it to use our newly created user by doing:
aws configureIt will ask you for the ID and secret which will be either in the CSV file you download or on the page you left open above. You will also be asked about the region, and make sure it’s the same what you currently see on your browser, such as us-east-1 or something similar.
After that you can test it by using:
aws sts get-caller-identityAnd it should come back with your ID, Account and ARN.
If you’ve not heard of CloudFormation it’s a service that uses a common language for provisioning and managing your infrastructure. You’ll hear the term infrastructure as code when people talk about it. In some ways you can think of it like a Dockerfile or docker-compose.yaml which sets up a system, or at least that’s how I’m currently looking at it.
Let’s start playing with it by creating a new YAML file called add_group_and_admin_user.yaml and adding this it:
AWSTemplateFormatVersion: "2010-09-09"
Description: Create a new IAM group with AdministratorAccess policy and add a new user to the group

Resources:
  AdminGroup:
    Type: "AWS::IAM::Group"
    Properties:
      GroupName: "Administrators"
      ManagedPolicyArns:
        - arn:aws:iam::aws:policy/AdministratorAccess

  AdminUser:
    Type: "AWS::IAM::User"
    Properties:
      UserName: "admin"

  AddUserToGroup:
    Type: "AWS::IAM::UserToGroupAddition"
    Properties:
      GroupName: "Administrators"
      Users:
        - Ref: "AdminUser"
For the most part this is fairly easy to understand, as it’s going to create three resources for us: a group, a user and a command that adds the user to that group.
With ManagedPolicyArns we create a group that has AdminstratorAccess, just like the user we created in the AWS web console at the start. We then create the user admin and Reference it in the last resource such that it will be added to our group.
To run this we do the following:
aws cloudformation create-stack \
--stack-name AddAdminGroupAndUser \
--template-body file://add_admin_group_and_user.yaml \
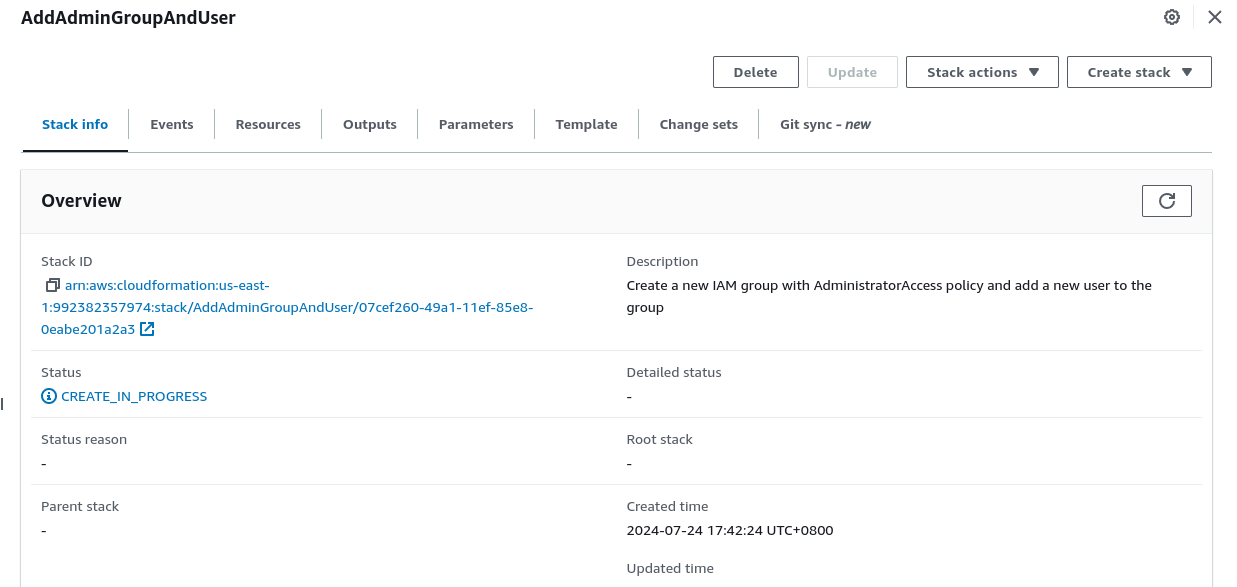
--capabilities CAPABILITY_NAMED_IAMOnce run you’ll be able to find your group and user via the console, but there are some things here which needed explaining, such as the stack.
A stack is a collection of resources that we can manage as a single unit. Just think of it as grouping a bunch of stuff together and then being able to delete or recreate it as needed. After you’ve run this command you can then do a search for CloudFormation or Stacks* and find the AddAdminGroupAndUser stack.
The –capabilities CAPABILITY_NAMED_IAM is related to the stack, as per the AWS documentation:
In some cases, you must explicitly acknowledge that your stack template contains certain capabilities in order for AWS CloudFormation to create the stack.
As easily as we created the stack we can remove by running:
aws cloudformation delete-stack \
  --stack-name AddAdminGroupAndUser
Equally, there is a command to update-stack, among other things. The documentation covers more of course.